How to validate in Adobe Acrobat Reader?
Why does a message appear that the certification validity is invalid?
According to National Institute of Information Technology, the Brazilian Public Key Infrastructure — ICP-Brazil is a hierarchical chain of trust that enables the issuance of digital certificates for the virtual identification of an individual.
In practical terms, it works as a virtual identity that allows the identification of the author of a message or transaction made on electronic media. This electronic document is endorsed by a trusted third party, called the Certification Authority (CA), as in the case of Clicksign.
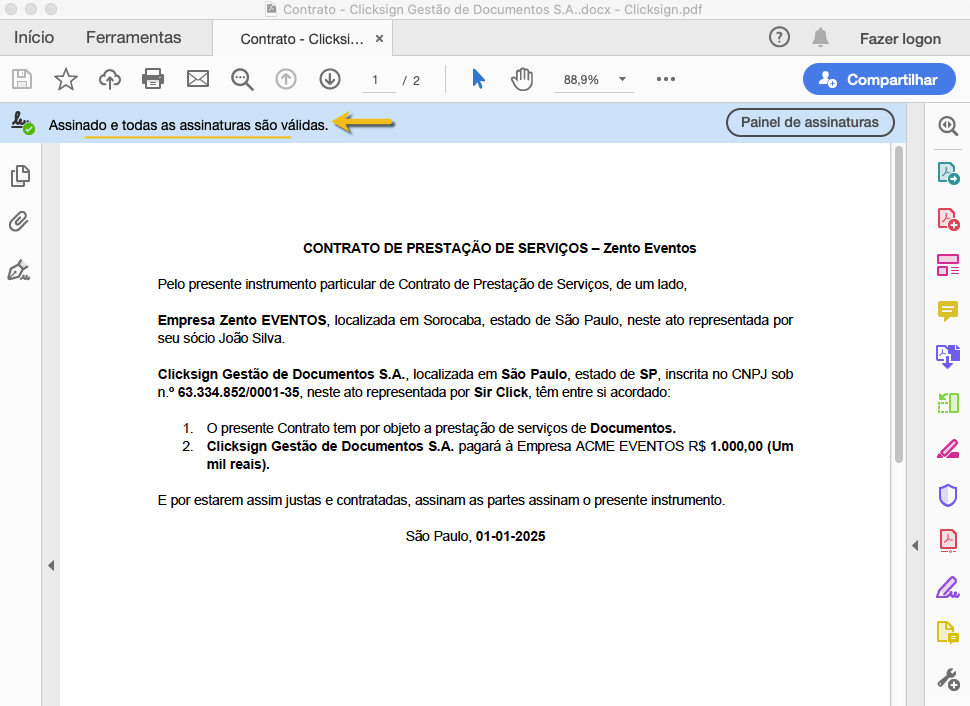
Initially a document signed with the digital certificate of Clicksign, appears as follows in the Adobe Reader:

Follow the steps below to validate the electronic signature within Adobe Reader:
The ICP-Brazil v5 Certificate Chain for Adobe Acrobat DC can be installed following the following procedure or, if you prefer, see the steps directly through the National Institute of Information Technology (ITI) portal HereI.
Download the Certification Authority v5 digital certificate by clicking here! It is necessary for this process to work!
Step 1: With the Adobe Acrobat Reader DC program open, select “Edit” (Windows) or “Acrobat Reader” (macOS) from the top menu;
Step 2: Click on “Preferences” and then on “Subscriptions”;
Step 3: Under “Trusted and Identity Certificates” (Windows) or “Signatures” (MacOS) click the “More...” button;
.gif)
Step 4: In the “Digital ID and Trusted Certificate Settings” window, click on “Trusted Certificates”, “Import”;
Step 5: In the “Choose contacts to import” window, click “Browse” and select the certificate you want to import on your computer;
Step 6: In the “Choose contacts to import” window, under Contracts, click “Brazilian Root Certification Authority V5”.
Step 7: Under “Certificates”, click on “Brazilian Root Certification Authority V5” and then the “Trust” button.
Step 8: Check the “Use this certificate as a trusted root” box and the “Certified Documents” box, then click “Ok”.

Step 9: At the end, click “Import”, close all windows and close your Adobe for the change to take effect.

Step 10: Ready! Adobe Reader DC is configured to validate documents signed with ICP Brazil certificates.